
Modules over image with overlay
In this short tutorial, we’ll see how to add rows and modules over an image with overlay.
Of course if we make all rows full width, there is no need for this tutorial as we can set rows background to become the overlay for our image. But here, the overlay is independant of rows over it.
What we want to achieve :
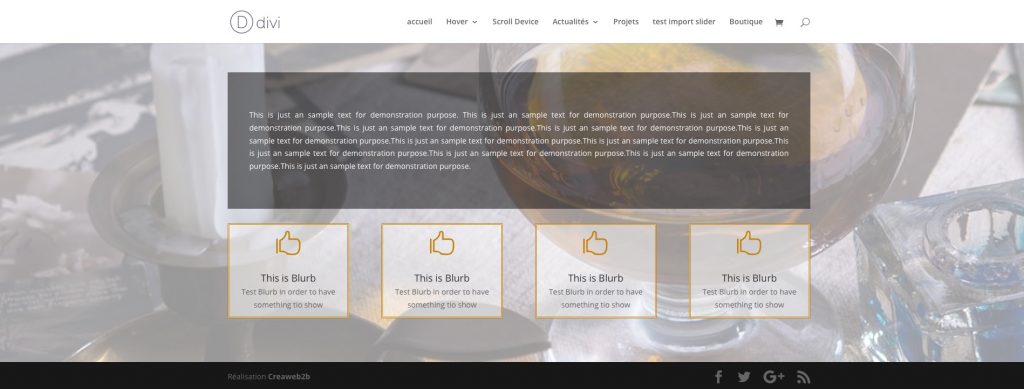
As we can see, we have a row with text and another row with 4 blurb modules.
Both are over the overlayed image.
In order to achieve this, we need one Section and 3 rows.
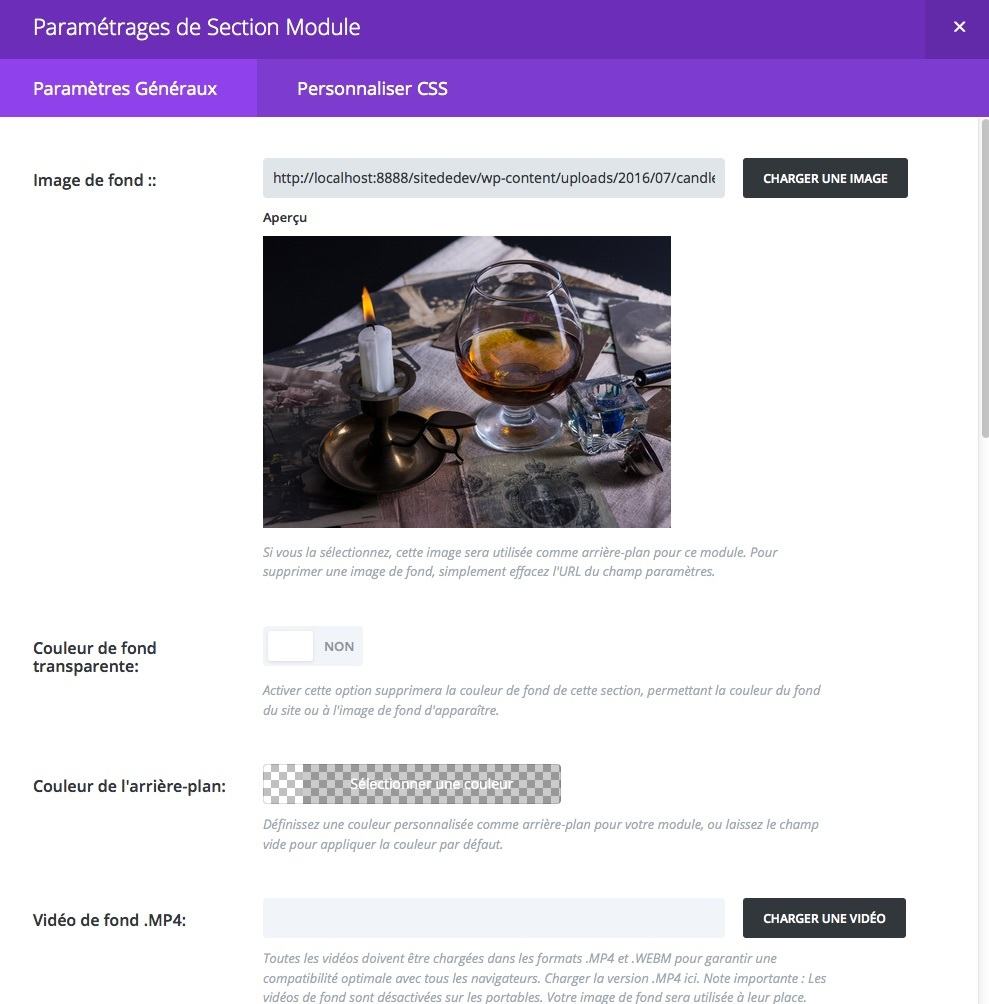
The image is set as background image inside the section module parameters.
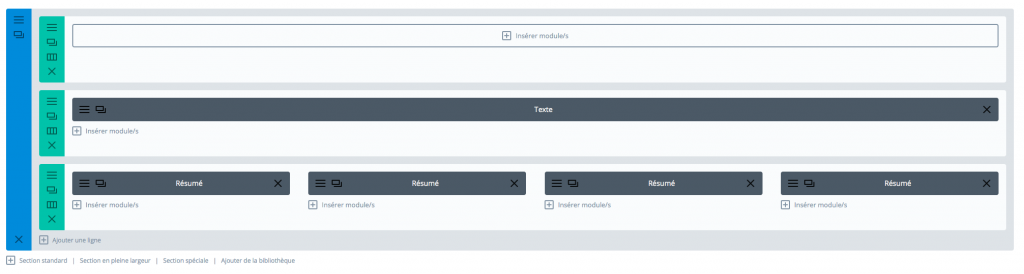
Inside this section, we are going to add 3 rows.:
1 for overlay (empty section)
1 for text
1 for your blurb modules
So inside the builder we now have the following :
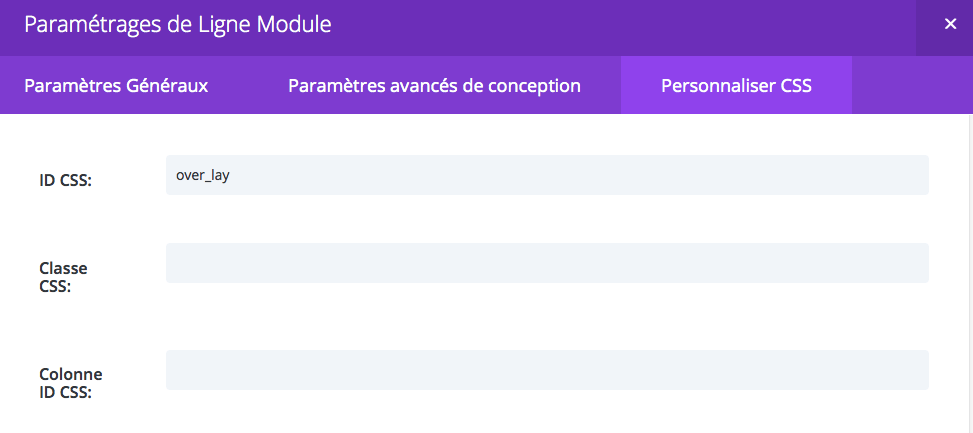
Set the first row (the empty one) as full width
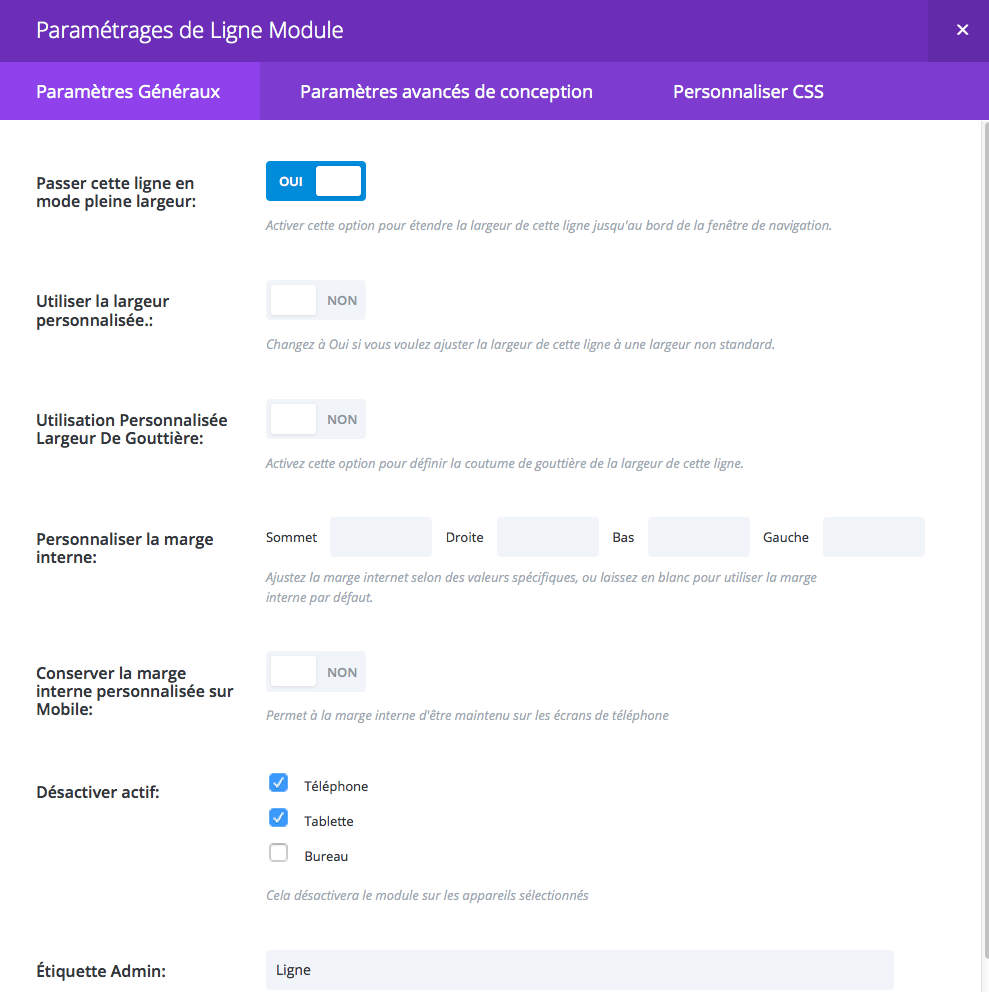
Give this row (the empty one) the CSS id of “over_lay” for instance.
Give the text a padding and if you want set the text module background to the desired color.
Customize your blurb modules like you want it to be (here inside the blurb row advanced css, each column background is set to rgba(255,255,255,0.6)
Next, just add the following css to your child theme style.css or inside divi theme custom CSS
#over_lay {
width:100%!important;
max-width:100%!important;
height:100%;
position:absolute;
background:rgba(255,255,255,0.6);
margin-top:-54px; // This value must match the top padding of the main section
}
Hope this could help.